The 5-Minute Collection Planning Exercise I Do Before I Open Procreate
There was a time when I would get excited about a new idea, open Procreate immediately, start sketching motifs, and then a few hours later wonder why everything felt disjointed.
I noticed that the individual illustrations were often fine, but the problem was that I was rushing into the drawing part and skipping right over planning.
Now, before I open Procreate or Illustrator, I spend a few minutes planning out the direction I want to take the collection. It’s really nothing complicated; just enough structure to make the design process run more smoothly and help me to avoid that dreaded moment halfway through a collection when I run out of ideas or I realize it’s not working.
So, here’s a rough idea of what I do:
Step 1: Define the Theme
Start with the broad idea behind the collection.
This could be something simple like strawberries, woodland animals, or coastal florals, but I’d encourage you to take it a step further and pick something more conceptual like cozy autumn mornings or retro summer vacations.
But, don't overthink it. You're simply finding a good starting point.
For example…
Theme: Fall Farmer's Market
Immediately, that gives me dozens of possible directions to explore.
Step 2: Identify the Mood
This is the step I think a lot of designers skip over and it’s important because two collections can have the exact same theme but look completely different depending on the mood each designer goes with.
So, ask yourself:
Is it playful or sophisticated?
Vintage or modern?
Whimsical or realistic?
Bright and energetic or soft and calming?
For the Fall Farmer's Market example, I might choose:
Mood: Cheerful, playful, hand-drawn, family-friendly
Now I have a visual direction that will help guide every design decision moving forward.
Step 3: Think About the End Product
Where do you imagine this collection living?
Fabric?
Gift wrap?
Stationery?
Children's products?
Home décor?
You don't have to lock yourself into one category forever, but having a target in mind helps you make better design choices because a collection intended for children's pajamas will likely look very different than one intended for upscale kitchen textiles.
For this example:
Product Category: Children's fabric and stationery
Step 4: Brainstorm Hero Motifs
Now we're finally getting into the fun part.
List the most obvious and recognizable motifs that could become the stars of your collection.
For the Fall Farmer's Market theme, I might write:
Pumpkins
Corn stalks
Sunflowers
Market baskets
Farm stands
These are the motifs most likely to appear in my hero print.
Step 5: Brainstorm Supporting Motifs
This is the step that saves me every single time. I think most designers can come up with enough ideas for one hero pattern easily enough. The struggle usually happens when it's time to create the supporting patterns and coordinates.
So before I start drawing, I make a second list of smaller supporting motifs.
For example:
Leaves
Vines
Seeds
Gingham
Little flowers
Dots
Plaid
Handwritten market signs
Now I have more than enough material to keep building supporting patterns and coordinates without scrambling for ideas later. Plus, I can work some of these into the hero pattern to make them look even more connected.
Step 6: Choose a Simple Color Direction
You don't need to create a fully developed color palette yet. At this stage, I simply choose a general color direction that fits the theme, mood, and intended product.
I’ll ask myself:
Will the colors be bright or muted?
Warm or cool?
High contrast or soft and tonal?
For the Fall Farmer's Market example, I might choose:
Color Direction: Warm red or orange, sunny yellow, a cool blue, leafy green, and soft cream
This gives me enough guidance to start designing without getting lost in endless color decisions.
Why This Works
This entire exercise takes about five minutes.
That's it.
But those five minutes often save me hours of frustration because I'm no longer making every design decision on the fly.
Instead of starting with a blank canvas, I'm starting with a plan.
And when it's time to create additional patterns, I already know where to pull ideas from.
Want my Complete Collection Planning Framework?
Of course, this is a very simplified version of the process.
Five minutes of planning will get you much further than jumping straight into drawing, but when I'm creating a collection for my portfolio or for licensing, I go quite a bit deeper.
I'm also thinking about the target audience, motif variety, color strategy, pattern layout and flow, and how all of the pieces will work together as a complete collection.
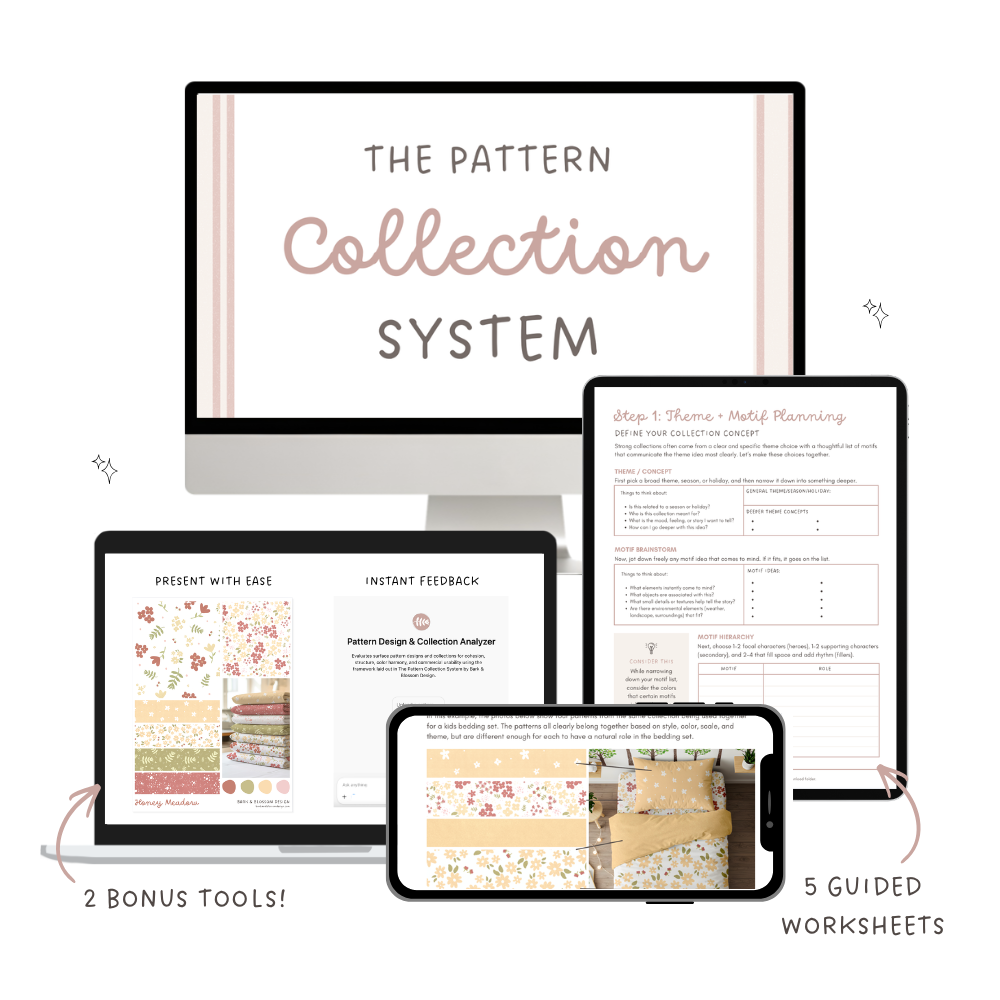
That's exactly why I created The Pattern Collection System.
Inside The Pattern Collection System, I walk you through my full planning framework and provide guided worksheets that help you move from a simple idea to a cohesive, marketable collection.
The Pattern Collection System is a guided workbook for surface designers who want to stop making one-off patterns and start building intentional collections that art directors want.
Have you ever created individual patterns you love, but then struggled to turn them into a collection that actually works together?
I’m willing to bet you don’t need another drawing course… you need a stronger foundation in design.
This workbook is about learning how to think like a designer: how color, layout, scale, and spacing work together. How each pattern plays a role within a collection and its end use. How to make intentional choices instead of just guessing.
Because strong collections aren’t just drawn — they’re designed.
Inside the Workbook You’ll Learn to:
Turn a broad theme into a clear, developed concept
Make intentional motif choices that support your concept (not just what feels right)
Build color palettes that feel natural and harmonious across a collection
Understand what each pattern is for — and how it’s used in real products
Create variation through scale, density, and flow
Finish a body of work that works
What’s Included in The Pattern Collection System:
49-page workbook with 3 units on Strategy, Design, and Presentation
4 guided planning worksheets + 1 cohesion checklist
2 Quick Reference Guides on color & design decisions
AI Pattern & Collection Evaluator tool for clear, structured feedback — anytime you need it
5 Canva sell sheet templates to help you present your collections for licensing
The Pattern Collection System is for designers ready to move beyond one-off patterns and start designing intentional collections. It is not instructional on illustration, style, software, or selling/licensing. It is best suited for designers who already understand the basics of repeating patterns.
Here's what's included:
49-page PDF workbook
4 guided planning worksheets covering Audience, Theme & Motifs, Color, and Layout
Collection Review Checklist
2 Quick Reference Guides on Color Harmony and Design Decisions
5 Canva Sell Sheet Templates (Bonus)
AI Pattern & Collection Evaluator trained on my framework (Bonus)
If you've ever found yourself staring at a finished hero print wondering what pattern to create next, The Pattern Collection System was designed to help.